When I learned my friend Debra was planning a baby shower for her nephew Donald and his wife Andrea from 496 miles away, I volunteered to help. I never knew I’d have so much fun!
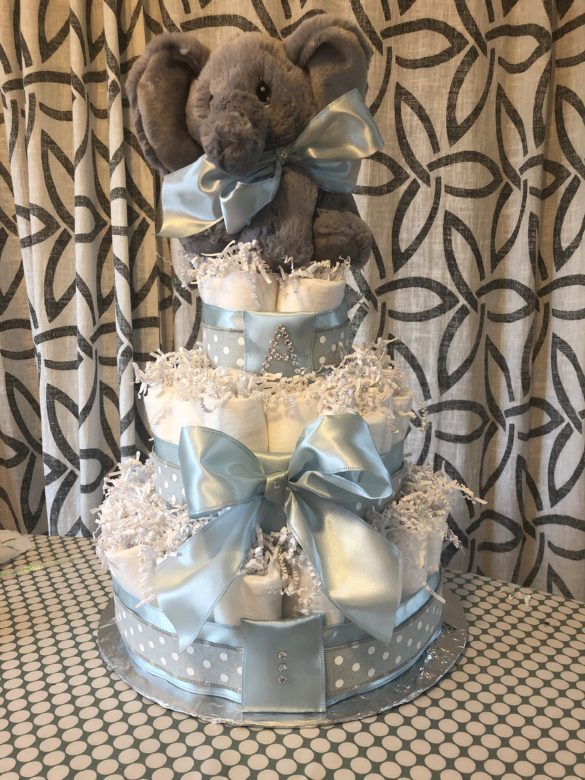
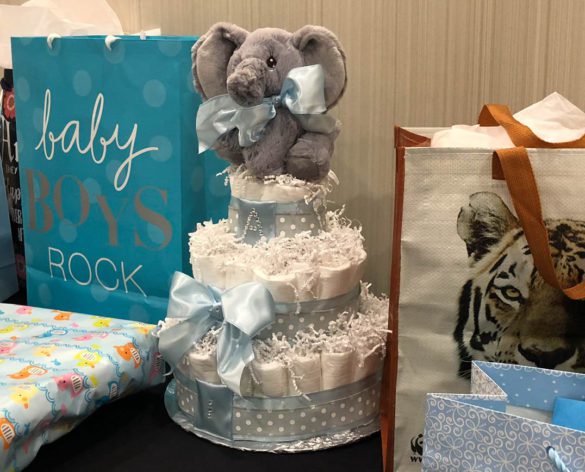
We chose a diaper cake for the first party element. Bold and practical, it served as decoration, centerpiece, and one of Debra’s gifts.
The parents’ theme? Elephants. Colors? Blue, gray, and white. And it’s a boy! His name is Alexander. ♥
Party planning can be overwhelming. There are just too many choices! Working from a theme paves a path through a zillion options and allows for customization to make the event more meaningful. Also, many items can be used as decorations for the baby’s room.
For Andrea and Donald’s shower, I purchased a Tuk the Elephant Precious Moments animal with signature teardrop eyes. Tuk is super plush and soft—a true keepsake piece.
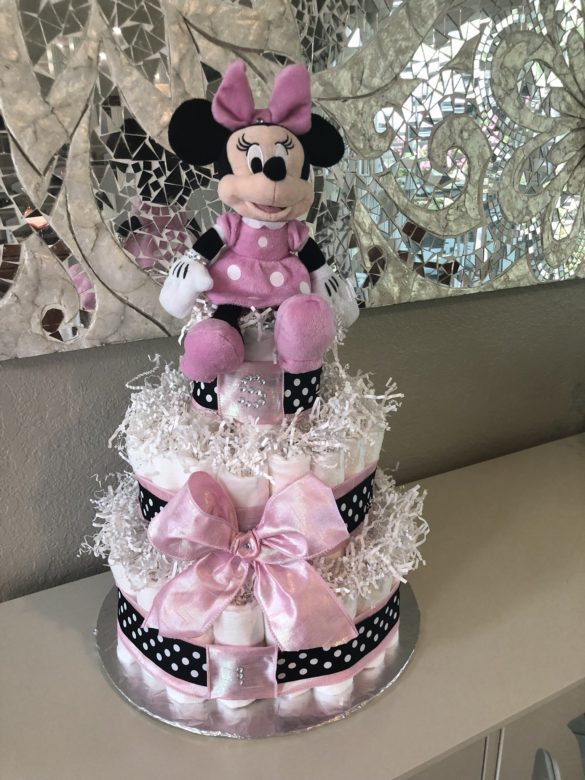
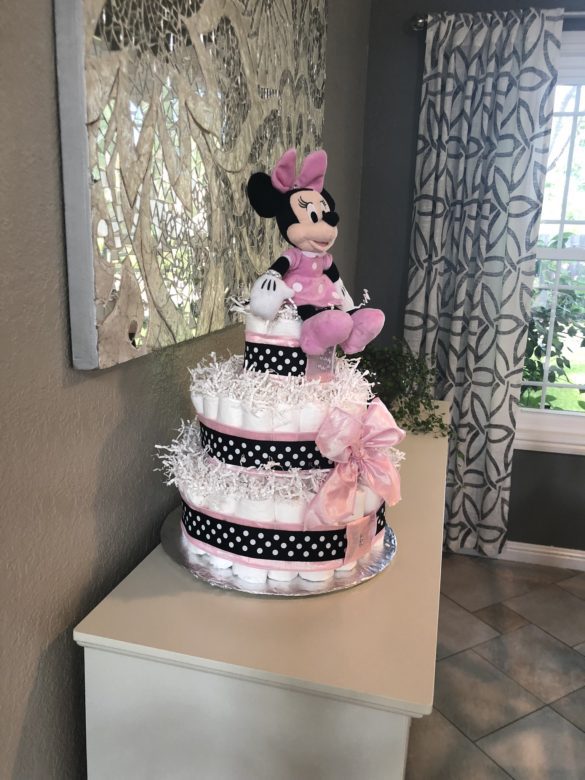
I had so much fun making that diaper cake, I made one for my friend Jen to take as a gift to her friend’s baby shower. The party’s theme was Minnie Mouse.
Making a diaper cake really is easy!
Here’s how:
Materials:
- Paper towel roll
- 14-inch cake circle (found where baking supplies are sold. I purchased mine from Hobby Lobby)
- Hot glue gun
- 65 or so diapers
- Mini rubber bands (white if possible)
- Curling ribbon (white if possible)
- Scissors
- Wide ribbon (I used 2 1/2 inch ribbon)
- Thin ribbon (I used 1 1/2 inch ribbon)
- Crinkle cut paper shred filler (any color will do, but I prefer white for “frosting”)
- Rhinestones for embellishment or other decorations if you wish.
- A stuffed animal, about 8 1/2 inches tall.

Diaper Cake Supplies
Instructions:
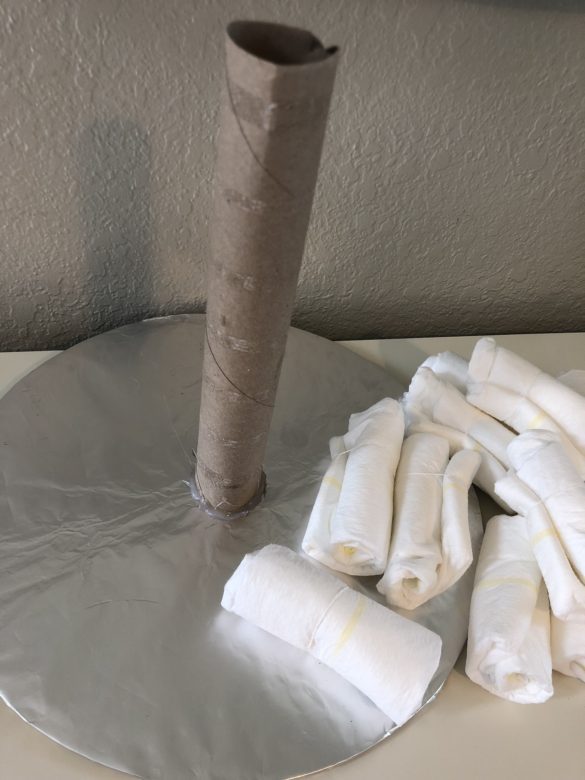
- Optional: cover the cake circle with aluminum foil.
- Glue the paper towel holder upright in the center of the circle.
- Roll 65 diapers of your choice and secure each one with a mini rubber band. I chose Pampers Swaddlers Size 1 (8-14 lbs.) for the diapers.
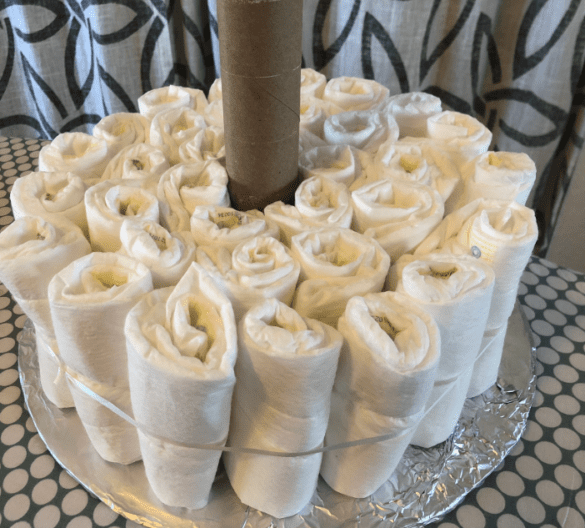
- Stack 6 diapers on end around the paper towel holder. Secure with curling ribbon.
- Stack 11 diapers on end around the 6 diapers. Secure with curling ribbon.
- Stack 17 diapers on end around the 11 diapers. Secure with curling ribbon. This completes the first layer.
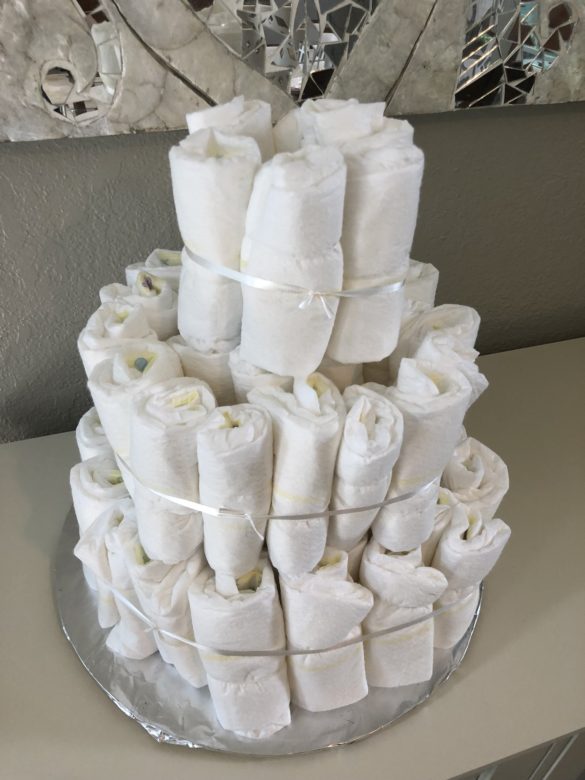
- Repeat the process for the second layer using 6 diapers and then 19 diapers.
- Repeat the process for the third layer using only 6 diapers.
- Wrap your wide ribbon around each layer. Secure using glue from the glue gun.
- Wrap thin ribbon around and on top of the wide ribbon. Secure with glue.
- To hide the seams, take a piece of ribbon about 4-5 inches long and fold it around the seam. Glue it and then turn the ribbon so that the glued edge is behind the ribbon and not in front. No seams should show.
- Use rhinestones to make the initial of the baby’s name or just a design. You can purchase rhinestones with self-adhesive backs so no gluing is necessary. In addition to making the babies’ initials in rhinestones, I made a rhinestone bracelet for Minnie Mouse and added a rhinestone to the bow I made for Tuk the Elephant. A little bling adds charm!
- Stuff the top center of each diaper with a large pinch of shredded crinkle paper and allow it to spill out for the frosting. Add enough to frost the entire row.
- Place the stuffed animal on top. I used Tuk the Elephant for one cake and Minnie Mouse for another.
Notes:
- Remove or add diapers to make each row even and aesthetically pleasing. I used a different amount of diapers for each cake I made. Also, the variety of diapers and sizes available may require different amounts than what I used.
- Using white colored rubber bands and curling ribbon ensures we don’t see them against the white diapers or through the ribbon.
Happy diaper rolling!
This post can be found at A Stroll Through Life link party. ♥


2 comments
This is my go to baby shower gift. They always turn out beautiful and I always come back here to remind myself of everything to get to make them. It’s really fun to play with different stuffed animals and color schemes.
Nicole, your diaper cakes are always so beautiful! You take such great care in your attention to detail and colors, like choosing the stuffed toy/animal to match the child’s decor. The mothers must be thrilled.💗