I’m certain my orchids, if able, would form a vigilante team and torment me as I have them—neglected, scorched in direct light (but, it looks so good in that spot), deprived of food because who knew you have to actually feed your plants? Or perhaps they’d love me to death with too much water—an equally efficient, but ironic demise.
In any case, I’d deserve it.
I have unwittingly tortured orchids for years.
First, I buy them at Trader Joe’s where they sell the best and most economical choices. Then, I love them to death and when they drop their flowers in protest, I swear, out loud, that next time, I’ll do better (all the while wondering what the hell they want if they don’t want to be left alone and they don’t want doting either). I berate myself and then console them with a high-pitched voice usually reserved for human babies as I walk them on a death march to the yard debris container—”I’m soooooo sorry. Next time I’ll get it right—I promise!”
Only I don’t.
Luckily, Orchard Nursery in Lafayette, California offered a free class in orchid repotting. Since it sold out, I figured I might have been among fellow orchid serial killers trying to set things right.
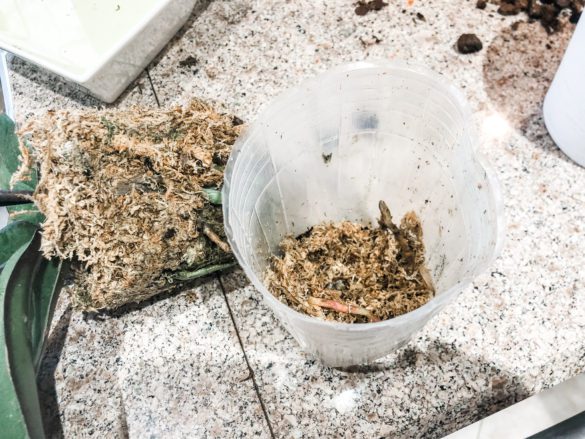
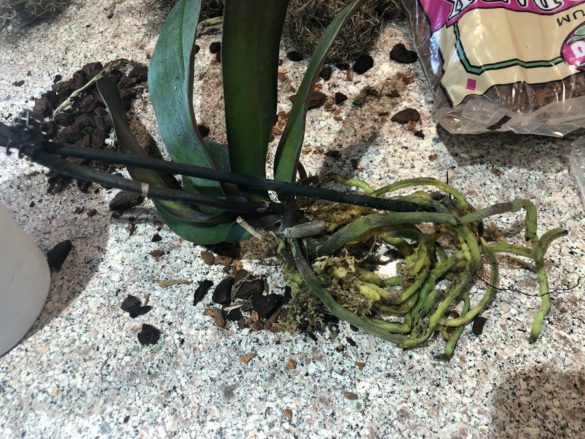
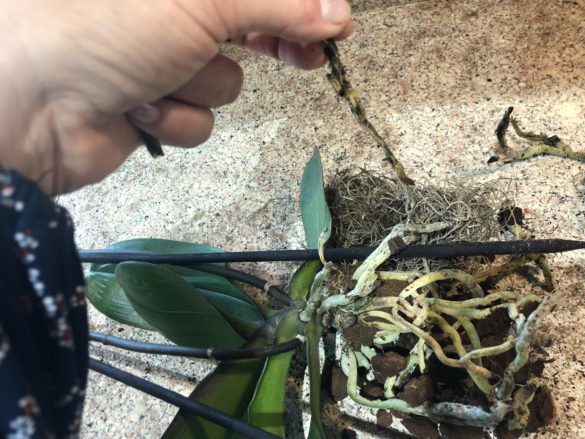
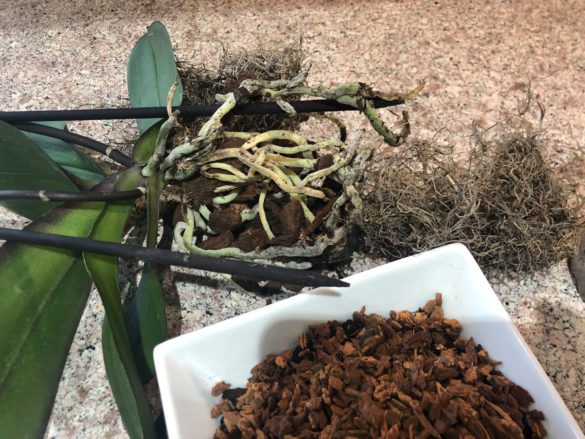
Anna, the plant buyer for Orchard taught the class. After, I replanted my orchids at home per Anna’s advice as shown in the pictures below.

Anna of Orchard Nursery in Lafayette, California led our orchid repotting class. She is a gem!
Here’s what I learned from Anna in the order in which I learned it. Anna knows best so here goes:
1. Orchids are pretty easy to take care of. (Ha!—I know, right? I’m with you on this.)
2. Repot them when they are not in bloom anymore or else they usually lose their flowers because of shock.
3. Always repot in a pot only 2-inches larger than the last. So you move along at a two-inch increment—first a two-inch pot, then a four-inch one, then a six-inch one, etc. I only spell this out to you because that’s what Anna said.
4. Make sure the orchid is really, really crowded in its pot. Orchids only like really, really crowded pots. They like it all snuggly (my word).
5. Overflowing roots, those that come out of the top of the pot are called “air roots”. They differ from their down-under roots as they literally soak up moisture in the air. You can rejoice at air roots because it could mean your plant is healthy! But, it could also mean the plant needs water and its only choice is to get the hell out of there and look for some on its own (dramatic emphasis is mine. Don’t be blaming Anna. She is very matter-of-fact and laid back as if taking care of plants is easy-peasy and no big deal).
But wait, it could also mean that it’s getting too much water. (I know, right? I’m still right there with you.)
So, if you see air roots, it could mean anything. So take the plant out of its container and check all the roots. Cut away any rotting or dead roots. There should only be healthy green, or very light green roots and they should be firm and plump. Prune brown or mushy roots. Make sure you sanitize your sheers as you could contaminate the current plant from the previous plant. Use a bleach wipe.

Air roots could be a sign of a healthy plant, but it could also signal problems.
6. Repot your orchid in fir bark or anything sold under the name Orchid Bark.
7. Your container should have holes in the bottom or on the side.
8. Pull away and discard any moss. This is not the ideal environment for the orchid. It’s used by growers so the plant retains moisture until it gets to the consumer, but over time, it retains too much water. (Click on pictures for slideshow and descriptions below)
9. Put some bark in the bottom of the container, add the orchid plant, and fill with bark. Compact the bark, but don’t super compact it. (Anna’s words and emphasis).
10. Some orchids are planted in soil. Most of the ones we buy are best in bark because that’s how they grow in the wild, on a tree. So just repot the plant however it was originally potted, except for the moss. We should plant those in bark.
11. Orchids need bright, indirect light.
12. It’s best to leave the orchid in the same place, even after it loses its flowers and even though it takes 6 months to a year to re-bloom and you just have leaves sitting there (disappointment is mine. Stop blaming Anna. She is just the messenger).
13. Humidity is important. Brown-edged leaves means the plant is too dry.
14. Putting the plant in a tray with rocks and water up to the rock level, but not over the rocks can create humidity for the plant. Don’t let the water touch the roots. Mistings are good every other day, especially during the winter when the heater runs in the house. I buy my rocks at Dollar Tree for $1 a bag.
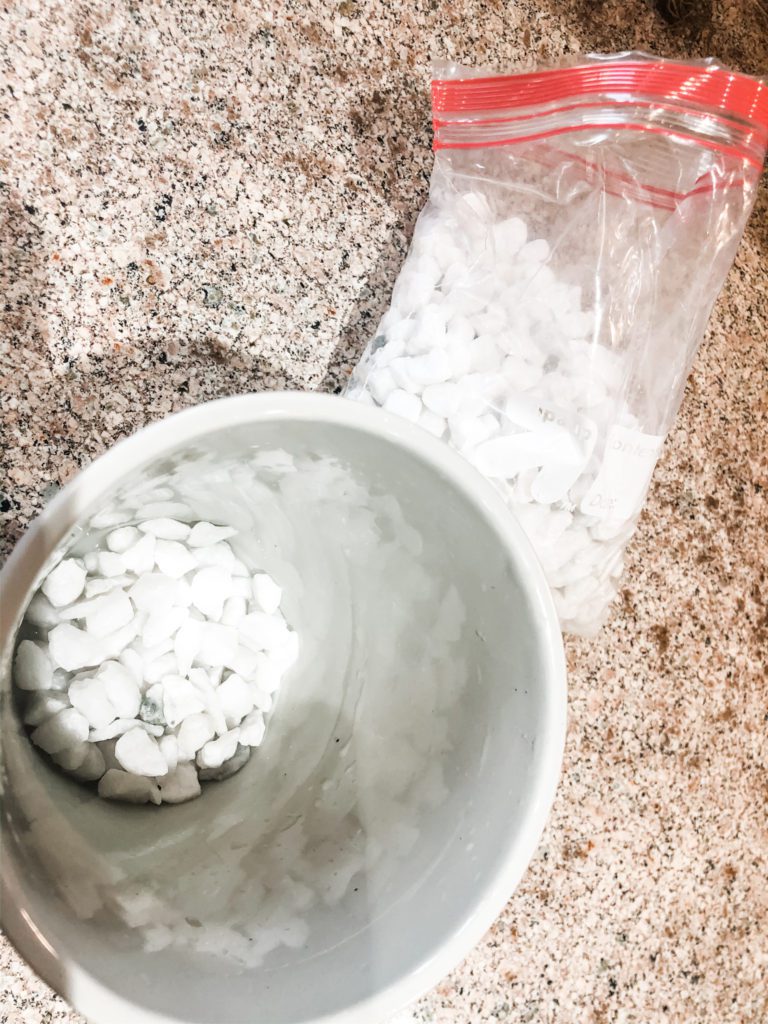
Add small rock to the bottom of the container and add water to just below the rock height
15. Fertilize orchids once a month. 20-20-20 is good all year. No need to use additional blooming fertilizer.
16. When watering, soak the roots and the bark for a while. You can either run a faucet over the bark and roots or you can set the pot in water for a while. Drain well. Don’t water again until the plant dries out completely.
17. Bloom wilts and drops means it’s too hot, it’s too cold, it needs water, it has too much water, it has pests, or the light isn’t right. It could be anything (throw-the-hands-in-the-air attitude is mine). Basically, it’s not happy and it’s trying to tell you something (imploring emphasis is mine.) But, it’s probably just a humidity issue (meh—reassuring approach is Anna’s. She is very laid back you might recall).
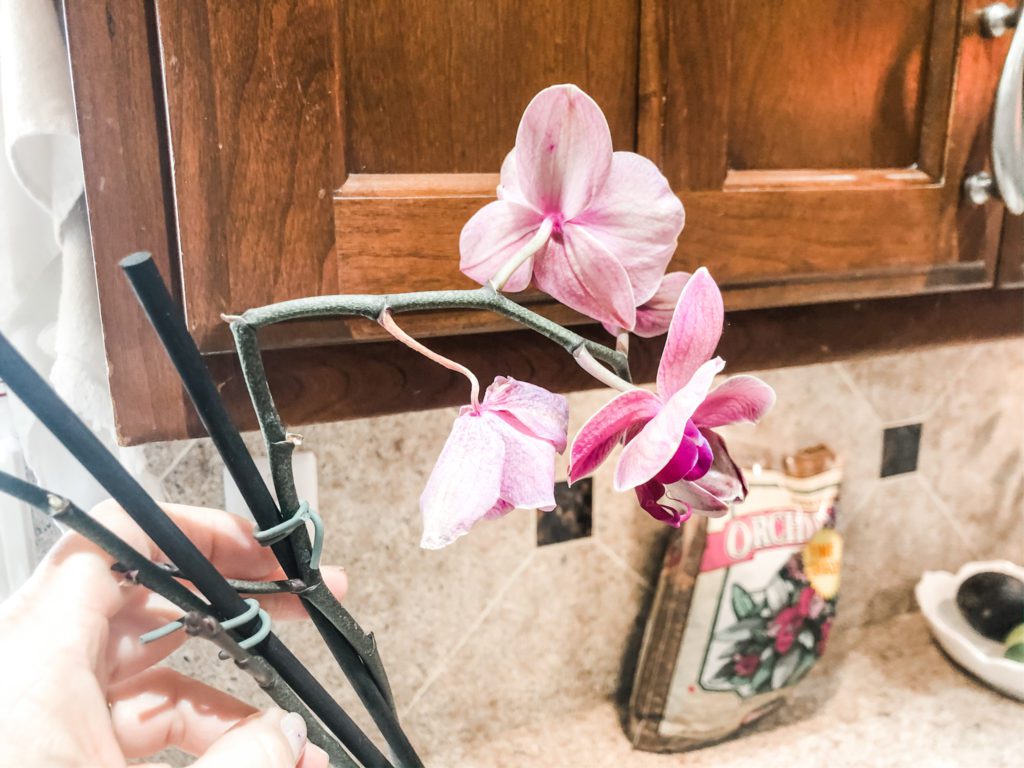
Bloom wilts or drops is a signal there’s a problem
18. Repot about every two years or when the roots are too much.
19. Small bark is best, especially for small plants and roots.
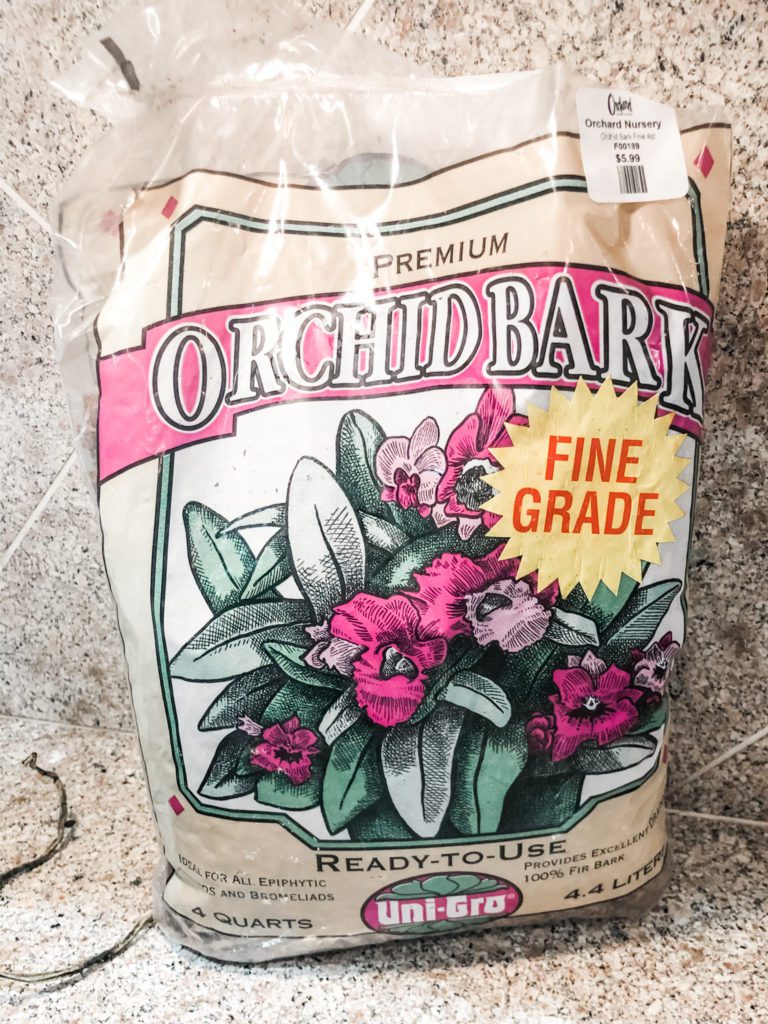
Any small orchid bark is fine
20. Orchids naturally, usually bloom from September to February (any other blooming time is forced). It usually flowers when the roots are crowded.
21. You can use any moss for decoration as long as it doesn’t stay wet.

Lots of questions from the audience and expert answers from Anna.
Thank you, Anna and Orchard Nursery.
I love your classes and your establishment!
XOXO


